
Puckering, skipped stitches and broken seams: causes and fixes
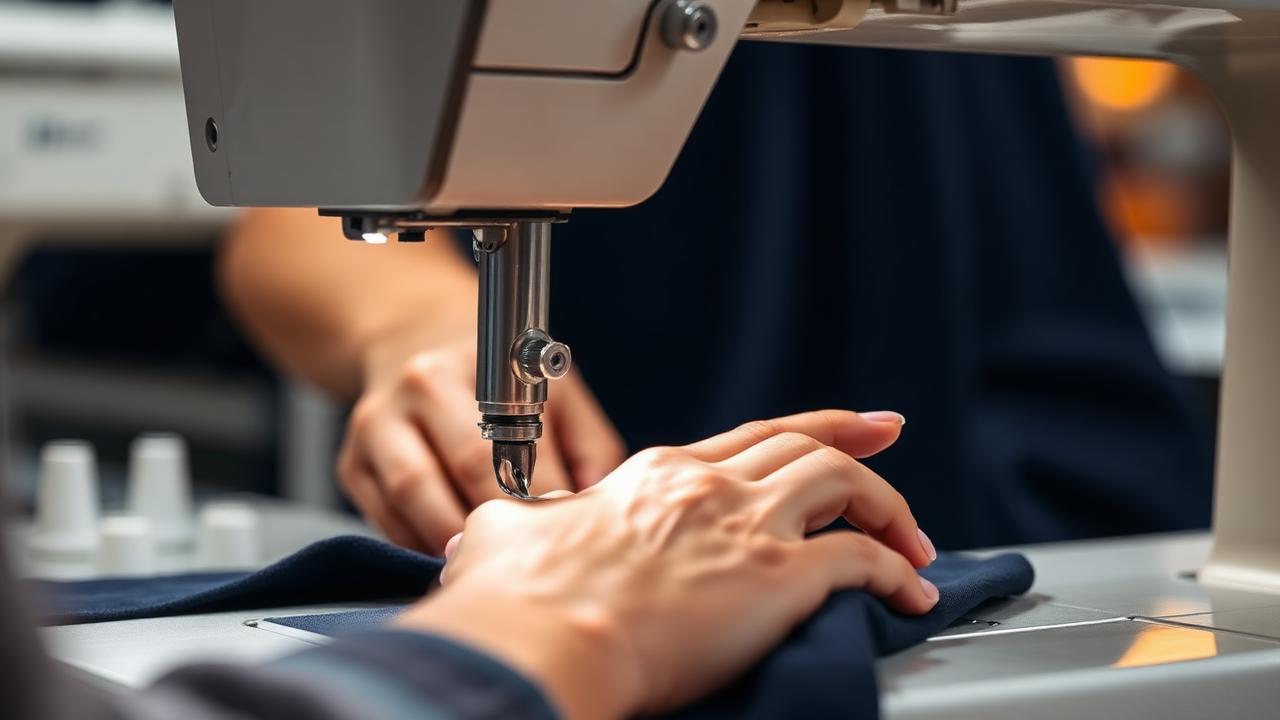
Sewing defects are rarely operator carelessness. Each of the common ones has a short list of physical causes, and each cause has a measurable setting. Work down the list in order and the defect disappears from the line instead of being rescued at end-line inspection.
Every service, study and product on NOSK.life is free of charge — we never take a single penny from anyone.
How it works
1.Seam pucker
Caused by feed imbalance, excess thread tension, too fine a needle in a dense fabric, or differential shrinkage between plies. Fix in that order: differential feed, top and bobbin tension, needle size, then fabric relaxation before cutting.
2.Skipped stitches
The needle loop is not caught by the looper or hook. Check needle system and size, needle deflection from a blunt point, needle-to-hook timing, presser foot pressure and thread lubrication on synthetic fabrics.
3.Needle cuts and fabric damage
Wrong point style is the usual culprit — a sharp point on knits cuts loops. Use a ball point on knits, set correct needle size for the thread, and cool the needle on high-speed multi-ply operations.
4.Broken and open seams
Thread strength, incorrect stitch class for the load, low SPI or missing backstitch and overlap. Verify seam strength against the buyer standard, then lock the SPI and overlap in the method sheet.
5.Uneven topstitch and wavy edges
Hand guiding instead of an edge guide, stretched knit edge from over-feeding, or an inconsistent seam allowance upstream. Add the guide and correct the previous operation, not the topstitch operator.
Quick reference
- Knit needle point
- Ball point (SES/SUK) to protect loops
- Typical needle change
- Every 4–8 hours or on any damage
- Presser foot pressure
- Lowest that still feeds without slip
- Rework target
- Under 3% of line output
Checks you can run this week
- Run a first-hour in-line check on each new style and record the top defect per operation.
- Keep a needle-change log with the broken-needle pieces accounted for.
- Re-verify tension after every thread or fabric colour change.
- Send the top defect back to the operation that created it, same shift.
Free downloads for this topic
Print-ready A4 PDF sheets from the NOSK.space garment media library — free of charge, no sign-up.
Set-in sleeve template
Sleeve head and cuff sheet with the shoulder-point notch, single front notch, double back notch and ease guidance for woven shirts.
Lockstitch formation diagram
How class 301 lockstitch is formed step by step — needle loop, hook pick-up, interlock point and take-up — with baseline density and needle settings.
Feed system & thread path diagram
The full thread route from cone to needle plus the four-part feed dog cycle and how presser foot pressure and stitch length interact.
Free studies and toolkits that use this
This explainer supports the following NOSK.space learning paths and toolkits — all free of charge, with no payments and no paywalls.
Free learning · Advanced
Lean Six Sigma for ApparelDMAIC applied to real sewing-floor problems, with statistical tools sized for factory data.
Free toolkit
CAPA Documentation PackNCR, containment log, root-cause worksheet, action plan and effectiveness verification templates.
Free toolkit
Factory KPI Dashboard KitDefinitions, data-capture forms and dashboard layouts for the twelve KPIs that actually move output.
Real contacts for this topic
Factories, mills, suppliers, buyers and industry bodies from the free NOSK.space garment directory that work directly with puckering, skipped stitches and broken seams: causes and fixes. Every detail below is published on the organisation's own site and each link opens that site — free of charge, no introductions sold, no commission taken.
Groz-Beckert
Albstadt · Germany
Sewing machine needles, knitting and felting needles
- Address
- Parkweg 1, 72458 Albstadt, Germany
- Phone
- +49 7431 10-0
Coats Group plc
London · United Kingdom
Industrial sewing thread, zips and performance materials
- Address
- 4th Floor, 14 Aldermanbury Square, London EC2V 7HS, United Kingdom
Brother Industries — Industrial Sewing
Nagoya · Japan
Industrial sewing machines, embroidery and direct-to-garment printing
- Address
- 15-1 Naeshiro-cho, Mizuho-ku, Nagoya 467-8561, Japan
Ha-Meem Group
Dhaka · Bangladesh
Denim and woven garment manufacturing with its own denim mill and washing plants
- Address
- 387 (South) Tejgaon Industrial Area, Dhaka 1208, Bangladesh
- Phone
- +880 2 8170592
Where this fits in sourcing
This topic is used at the following stages of the free NOSK.space sourcing guide, which links each decision to the questions to ask and the real organisations to approach.
- Stage 5: Factory capability and order flow
Check the factory can actually run your product, at your quantity, on your dates.
Common questions
- Why does pucker appear only after washing?
- Because the thread and fabric shrink at different rates. Choose a thread with shrinkage close to the fabric, relax fabric before cutting, and test seam appearance on a washed sample, not a dry one.
- Do I need to pay for this guide?
- No. Everything here is free of charge, permanently, with no sign-up and no payment.
Finished this explainer?
Tick it off to track your own progress in the free student portal. It is stored on this device only — no login, no account, no fees.
Jobs this knowledge leads to
Real garment industry roles that hire for exactly this skill, with the employers that recruit them. Free to browse — no fees, no commission.
Production & industrial engineering · Entry level
Production Supervisor / Line Chief
Owns one sewing line hour by hour: manpower, feeding, quality at source and the target board.
Open the role guideQuality & compliance · Entry level
Quality Controller (Inline / Endline QC)
Checks garments at the operation and at endline, records defects and stops problems travelling down the line.
Open the role guideMaintenance & machine technology · Entry level
Sewing Machine Maintenance Technician
Keeps lockstitch, overlock, flatlock and special machines running, set correctly and safe.
Open the role guide
More free media
- Seam types and stitch classes used in real production
SSa, SSae, LSc, EFb and the stitch classes that go with them — how the seam on the tech pack becomes a machine, a folder and a method.
- Woven vs knit: how fabric construction changes everything
Warp and weft versus loops and courses — why the same fibre behaves completely differently once it is woven or knitted.
- How to read a fabric test report without guessing
GSM, shrinkage, colour fastness, pilling and tensile results — what each line means and which failures actually stop production.